02-JulMetro 7 (Villejuif station)小孩參觀博物館(Jardin Des Planets),我們逛街清真寺 (Muslims Temple)競技場 (羅馬時代)萬神殿Metro back to Green houseSome take bus w/ laguaage, 3 take Metro3 Metro to get Lyon Train Station搭 TGV 到蒙巴利葉
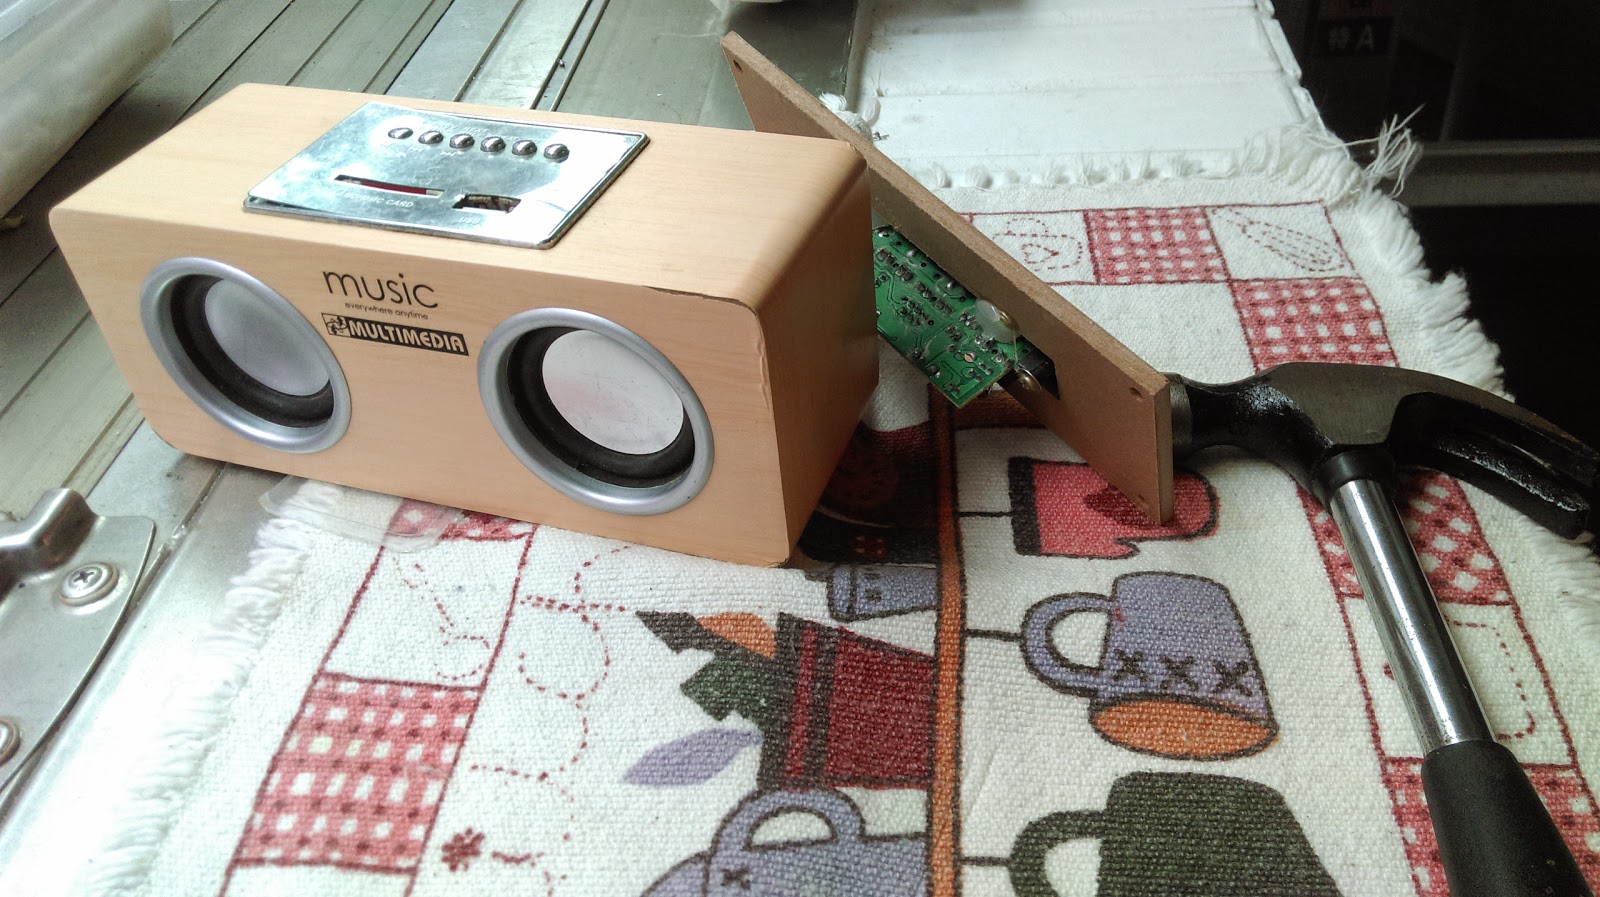
Arduino - Test DFPlayer Mini MP3 Module I found DFPlayer mini MP3 module on China auction site Taobao when I was looking for a MP3 player module for an Arduino projects. This module is quite small and it only require few pins connections to Arduino and a speaker to work. Looks really nice for my little project. Actually, the module is quite capable and complicated, if you were interested, please visit this page . This tutorial here is just to show you how to connect DFPlayer module with Arduino and speaker and the Arduino sketch provided here just to play few sample sounds I collected from Internet. First, I recycled a 2W, 4Omh small speaker from this little music box. Material Needed: DFPlayer Mini module Speaker - DFPlayer module support to to 3W SD card - 2GB ~ 32GB formatted with FAT or FAT32 MP3 / WAV - audio files Arduino mini Pro Few jump wires As you can see the illustration below I made in Power Point, hardware connection is quite simple (
Android control color RGB LED using HC-05 Bluetooth with Arduino (Part I) Part II of this tutorial is here! Updated Sketch for ESP32 boards https://stonez56.blogspot.com/2021/07/android-control-color-rgb-led-with.html This time, I am going to show you how to use Android phone to connect to HC-05 Bluetooth module and Arduino. Hardware needed: Arduino mini pro * 1 HC-05 Bluetooth module * 1 RGB LED * 2 Jump wires * 10 HC-05 Bluetooth Module wiring as follow: TX connect to Arduino Pin 11(RX) RX connect to Arduino Pin 12(TX) Remember to connect TX on the HC-05 to RX on the Arduino and RX on the HC-05 to TX on the Arduino, so Arduino can receive data correctly. VCC connect to 5V power GND connect to Ground RGB LED wiring as follow: Warning: You must connect Arduino mini pro, so your PWM Pin can control LED’s color! For example, Arduino mini pro only has 6 PWM pins and they are 3, 5, 6, 9, 10, and 11, other pins do not have PWM. Refer to Wikipedia for PWM R co
*** If you are using the ESP8266, Please see this: ESP8266 It would be great if every IoT device deployed with OTA capability with Wifimanager. Then the IoT device would be able to change SSID & password without connecting the device to the computer to update SSID and password as well as FOTA at any time when you wanted. In this tutorial, let’s combine ESPAsync_Wifimanager and AsyncElegantOTA into a code base to become a handy tool for future IoT projects! I have made WiFiManager & AsyncElegantOTA tutorial videos. If you don't know what they are and how they work for IoT projects, I strongly recommend you to watch these videos first. This time, I used ESPAsync_WiFiManager library, it's because WiFiManager does not work with AsyncElegnatOTA together. We have to change to ESPAsync_WiFiManager. The main reason for this is that AsnycWiFiManager is using Asynchronous technology. Which means it can accept connections from different sources at the same time. So, while WiFi


Comments
Post a Comment