Posts

Showing posts from January, 2014

Arduino 專案 - 以電視遙控器控臥室天花板電燈開關 (3) : Arduino Project - Switch Bedroom Light with TV remote Part 3

Image
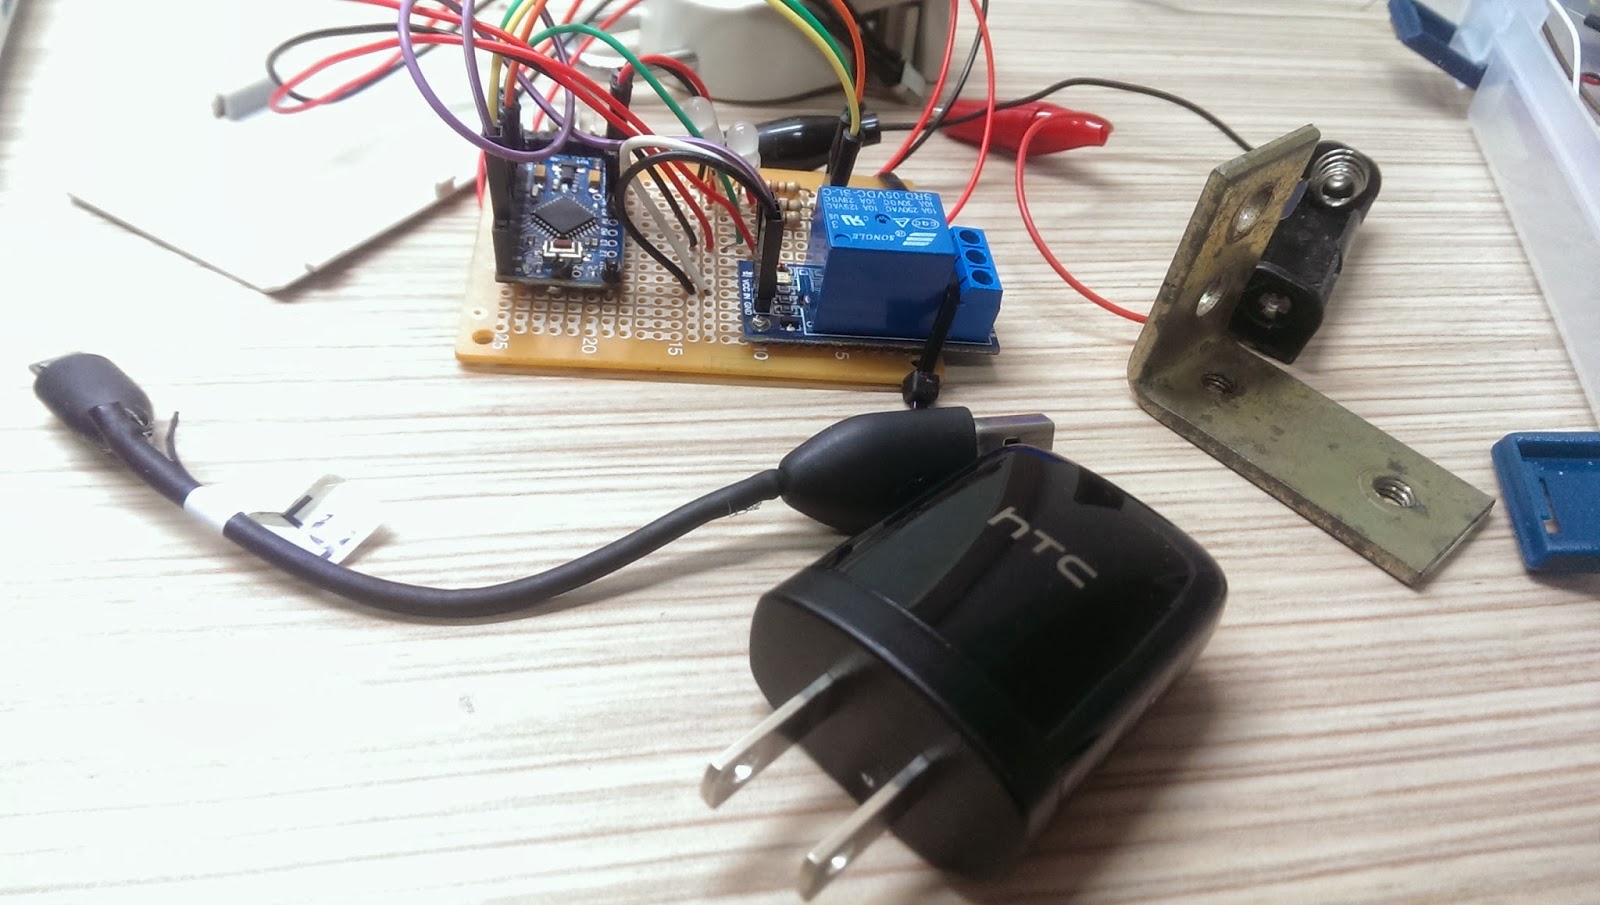
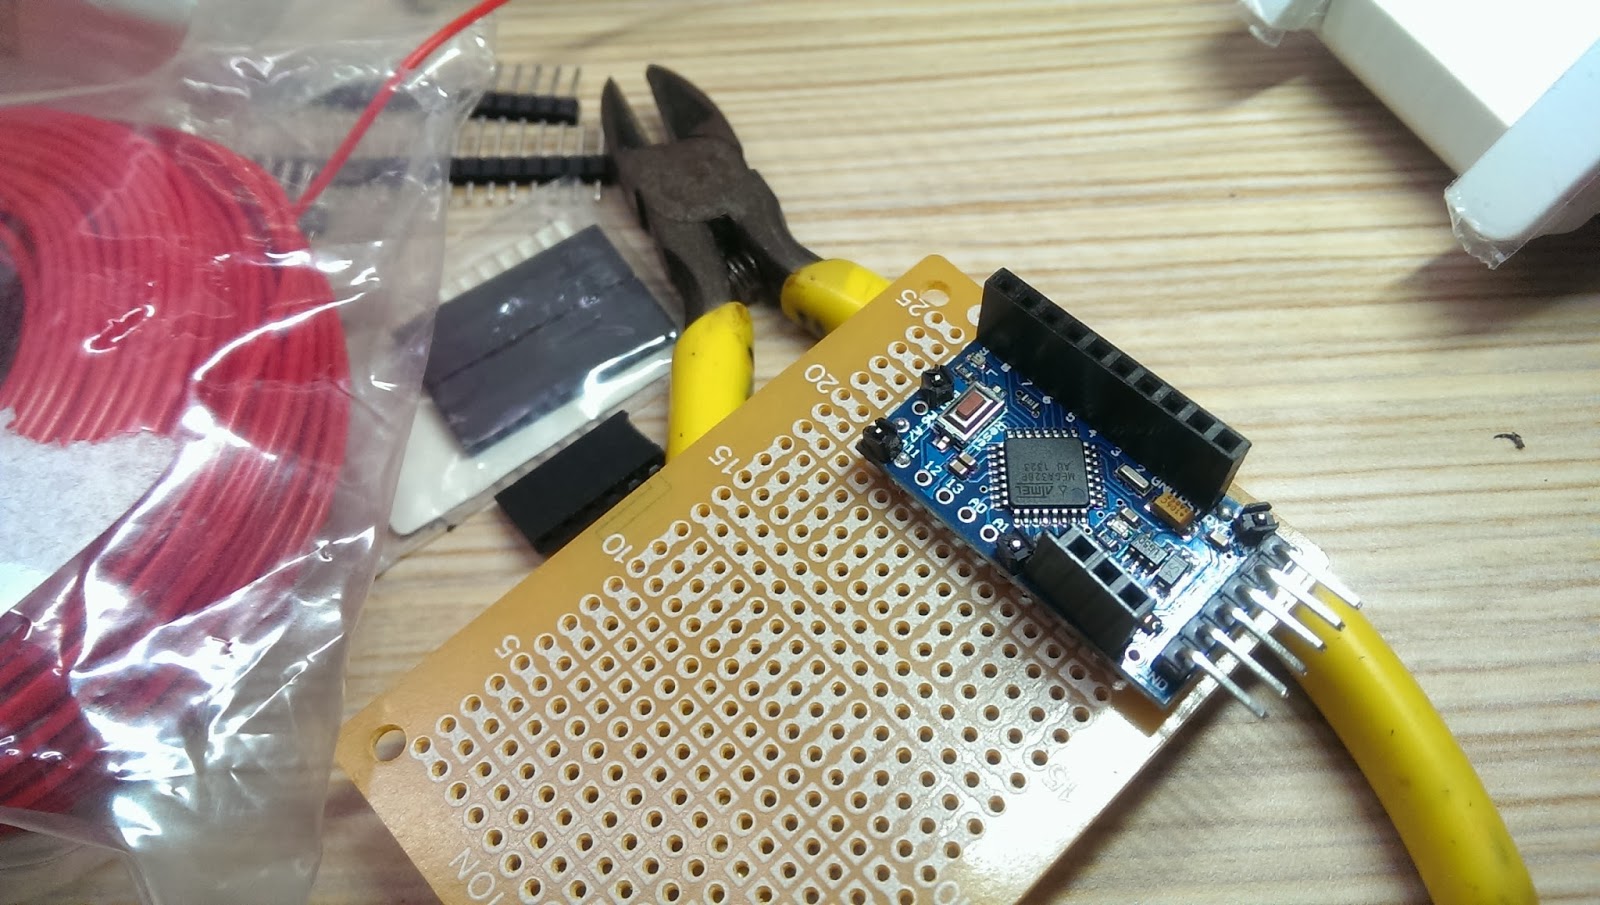
上次把電子零件通通焊到板子上了,今天來完成這個專案吧! 首先,要先找到提供電源給Arduino 的方法。看了網路上很多人都說自製變壓器要小心安全的問題,大都建議用現成的變壓器,所以我拿了手上一個手機變壓器來當做電路板的電源。 After I soldered all components on the perfboard, let's complete this project today! First, I need to find a way to provide power to our perfboard. Many people on the internet recommended to use a mobile phone charger instead of making one themselves due to safety concerns. So I got a spare HTC charger for my project as shown below.  把USB電線剪斷小端(MicroUSB) 到適合的長度,把外皮剝開,裡面會有四條不同顏色的電線如下圖,紅是正極,黑是負極。把正負極焊到電路板上。 Carefully cut the microUSB end and pelled the shielding off the cable. In there, you will be four wires with GREEN, WHITE, RED, BLACK. Solder the RED and BLACK to positive and negative on your perfboard.  再把正負極焊在電路板上後,記得插電到電路板上先試試功能是否正常。 After soldered the wires, plug charger and test your board to see if it's working. 這是我房間裡的燈,它由開關來開啟,每次開關一次,它會循環:3個燈/關,5個燈/關,2個燈/關,小夜燈/關。 My bedroom light looks like this below. It has a switch l

Arduino 專案 - 以電視遙控器控臥室天花板電燈開關 (2) : Arduino Project - Switch Bedroom Light with TV remote Part 2

Image
上次完成 Arduino 用TV搖控器來開關燈 開發原型後,一直到今天才把它完全的做在一個麵包板上。由於是電子相關的新手,真是花了很多功夫才完成。在過程中,我還把正負極裝反,害我以為 Arduino mini pro 被我燒毀了! 找了好久,還好我有發現這個問題,不然,你也看不到這個例子了! After I completed Remote control light switch with Arduino and TV remote project last time, I was looking for ways to move all components on to a perfboard and ready for a permanent setup. Due to I am really new to electronics, it took me a lot of time to get the job done. During the process, I accidentally soldered the power source positive to negative and negative to positive. I was panic and, for once, I thought I had burned the Arduino mini pro.  I was happy that I found the problem and solved it after few hours... 對沒學過焊接的新手,把零件焊到電路板上,真的是很不容易!! 看我焊的跟狗啃的沒兩樣。 For a newbie like me whom never learn how to solder, soldering components to the perfboard is really challenging! 我到電子零件店買了這個編號 KT-8 的電路板。 使用長的接腳,拿它來當固定 Arduino mini pro 的工具。 I bought this perfboard coded "KT-8" in an electronic component shop and it only cost NT$1

Change font type and size for Arduino IDE

Image
When I started Arduino IDE the first time, I couldn't believe the default font size is so blurry and small. I finally found a way to change the default fonts and make the fonts more clearly. Let's change the font size and type in this tutorial. As you can see below, the default fonts is so blurry Arduino IDE: First, go to the menu "File"-> "Preferences". You may setup the font size you prefer. I prefered size 18. (See red square with 18 in it. That's my prefered font size.) Then at the bottom of the preference box, there is the path to the file preferences.txt  (see image below) We need use a text editor to change preferences.txt's content to make font clear. Use a text editor to open the preferences.txt file in the path shown above. After the file is opened, find " editor.antialias=false " and change false to true. If you want to, you may also change the font size directly in the editor. (See read mark below). ** D

Arduino 專案 - 以電視遙控器控臥室天花板電燈開關 (1) - Arduino Project - Switch Ceiling Light with TV remote Part 1

Image
這一兩個月來,一直在看 Arduino 的相關資料,終於有一個 "勘用" 的東西... It's been a month a or two that I have been studying Arduino related information. Finally, I came up with a useful cases for a project that could potentially solve my pain point. 睡覺前,在寒冷的冬天,要從床上起關燈時,總覺得很麻煩... 所以當初看到 Arduino, 第一個想完成的 project 就是,利用電視遙控器來控制天花板上的燈了...上網找了一下資料,沒想到已有很多前輩已經有寫類似的,所以就參考來用了!這是我做初版,coding 太久沒寫了,所以很亂,還好能運作... It must be happened to you before that in a very cold night watching TV or movie in bed and you were ready for bed. You turned off the TV or DVD player with remote control easily. However, for the bedroom light, you just had to get out of the bed to turn the light off. What a pain point!! So, my first project is called "Remote control light switch with Arduino and TV remote".  After I searched the internet, there are many examples already out there, such as IR receiver, relay module, RGB LED shift hue and most of them have codes that I could utilize on my project.  It's been a long ti

Another Arduino Editor - Sublime 2 Text for Mac

Image
P.S: This tutorial was written back in 2014 and here is the English version. I just started to learn Arduino and found out its IDE is not best one available; the fonts are not clear and quite small, no line numbers(V1.6 has line number now, Ya!!), and no being able to refer to variables during coding and no auto-complete funcationality. After few search⋯⋯I found Sublime 2 + Stino plugin If you are using a Mac and you do not like Arduino IDE, then you should give this editor a try:  Sublime 2 + Stino plugin Installation: Download and install  Sublime 2 Text from here  http://www.sublimetext.com/2 Download latest Stino plugin: https://github.com/Robot-Will/Stino  Just checked, the latest plugin was released in July-2015   Start  Sublime 2 Text application Select [Preference] -> [Browse Packages...] Uncompress "new-stino.zip" and place unzipped file into "packages" folder Close Sublime 2 Text application Re-start Sublime 2 Text application Setup ty